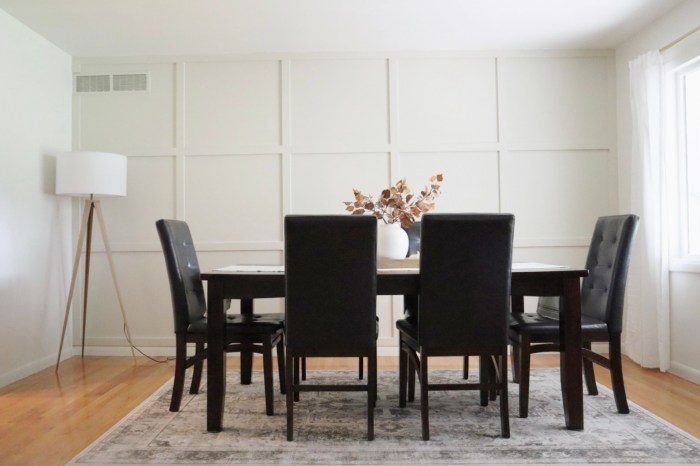
Before:


After:
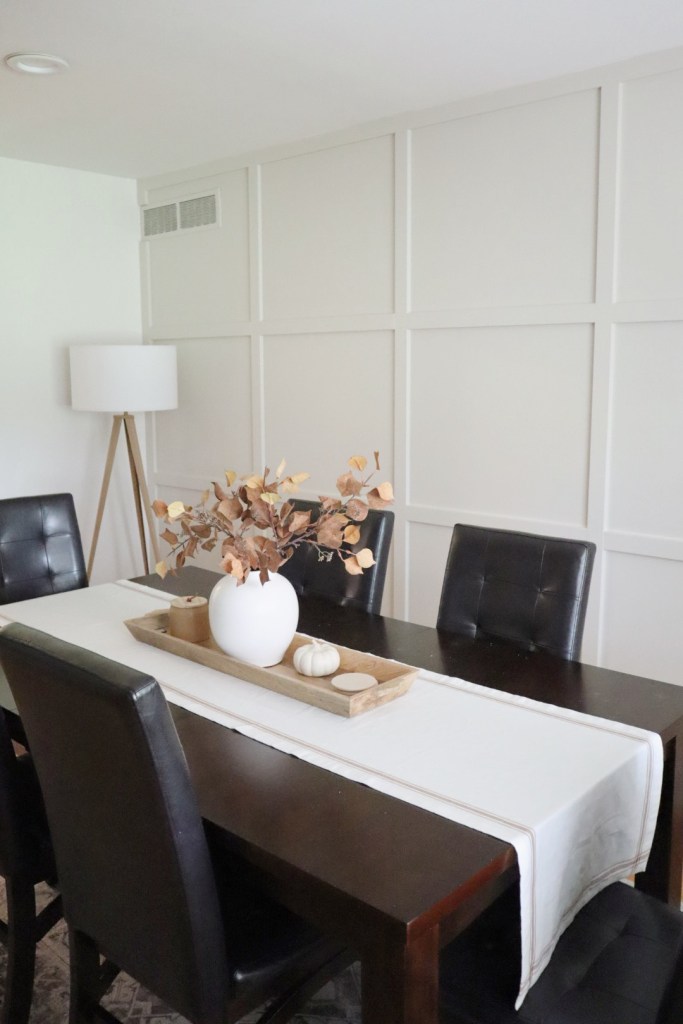


How to DIY a Board and Batten Accent Wall
The wall was black before I started this project so I painted one coat of primer before getting started. It took me a full weekend to complete, but this does include interruptions to tend to the tiny humans 🙂
Step 1: The prep work for a project can sometimes be the most time consuming part. You will want to come up with your design and then take measurements so you know how much wood you will need. I used 3″ X 1″ X 8′ primed MDF for this project. You will want to start by locating where your studs are. I then added a vertical board on the far right and far left side of the wall. From there I added boards to the top and bottom so the whole wall was bordered. I attached the boards into the studs using a 2″ nailer.
*Don’t worry about gaps between the wall and the boards, ceilings are not always even, this space will get filled in with caulk once you’re finished.
Step 2: Add the rest of the vertical boards using a level to make sure they are straight. For reference this wall is just over 14′ wide and I liked the look of 5 sections across. The distance between each section is just over 31″. When taking your measurements for spacing you will want to factor in the width of your boards. I then tested my math across the wall to make sure I did it correctly. I would not want to get to the end and be left with one square that was much larger or smaller than the others. When attaching these vertical boards to the wall I wasn’t able to hit any studs so I used liquid nails along with 3 nails, top, middle, and bottom.
Step 3: Measure the distance for each board you will need to cut for the horizontal pieces. I say this because the measurements could be slightly off from one section to the next. When attaching these to the wall I located the studs and I was able to hit 2 with each piece. I did not use the liquid nails for these and instead put 2 nails on each piece wherever the studs were.
Step 4: After all your boards are attached you will caulk all the seams and fill the nail holes. This is a pretty time consuming process but the results are so satisfying! I think using spackling or something similar where the boards connect would work better for a seamless appearance. I did not do this but will probably go back and do so at some point.
Step 5: Sand where needed, paint, then step back and enjoy your work!
Supplies Used:
- 14 – 3″ X 1″ X 8′ primed mdf boards
- primer paint
- stud finder
- level
- brad nailer
- tape measure
- caulk
- paint – I used Benjamin Moore Natural Cream
Good luck!!

