


These scones turned out so good and I really hope you plan on adding all these ingredients to your next grocery shopping trip so you can try them for yourself! It all started when I had my first pumpkin scone of the season from Starbucks, they’re my favorite, and it gave me the idea to make them myself. I have made pumpkin scones in the past but I knew I had to do something different about the icing. It just wasn’t the same as the thick layer found on the Starbuck’s ones. Well I am happy to report that I was able to replicate it by tweaking my royal icing recipe a little bit and it turned out perfect!
Scones are simple yet a little labor intensive at the same time and I fully understand that doesn’t really make sense, hah. Simple in they don’t require too many ingredients or time and really the only labor intensive part is cutting in the butter. It’s not that bad but definitely not my favorite part of the process 🙂 I added pictures above showing what everything looked like at each step but you’re always welcome to reach out if you have any questions. Happy Baking!
Ingredients:
2 cups flour
1/3 cup packed light brown sugar
1/2 teaspoon baking soda
1 teaspoon baking powder
1/2 teaspoon kosher salt
1 teaspoon cinnamon
1/4 teaspoon ground ginger
1/4 teaspoon nutmeg
1/8 teaspoon cloves
1/2 cup cold butter cut into small chunks
1/3 cup canned pumpkin puree (not pumpkin pie filling)
2/3 cup buttermilk
1 teaspoon vanilla
Icing:
2 cups powdered sugar
1 tablespoon meringue powder
1 teaspoon vanilla
3 tablespoons + 1 teaspoon water
Directions:
1. Preheat oven to 425*. Combine your dry ingredients in a bowl including flour, baking soda, baking powder, salt, cinnamon, ginger, nutmeg and cloves.
2. Cube the cold butter into small pieces and add to the bowl of dry ingredients. Use a pasty blender to mix the butter into the flour mixture. You will want to mix it until there doesn’t appear to be any larger chunks of butter remaining. If you don’t have a pastry blender you could use a fork.
3. Mix the pumpkin puree, buttermilk and vanilla together in a separate bowl. Create a well in the center of your dry ingredients and pour the wet ingredients in.
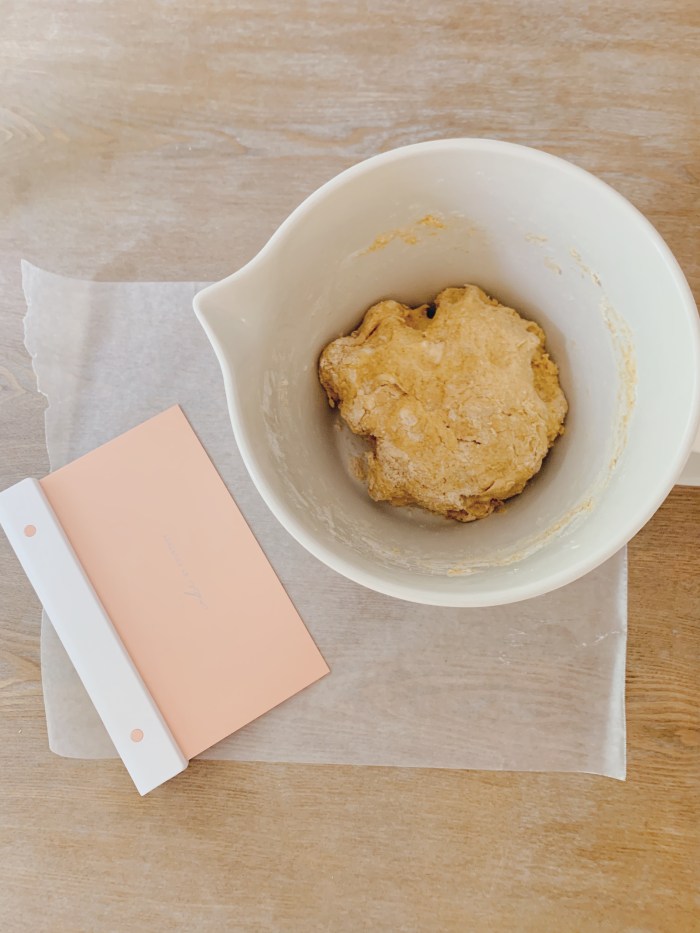
4. Mix everything together, eventually I just use my hands to combine, it becomes much more efficient. I then transfer to a piece of parchment paper and form a rectangular shape about 1 inch thick. You could use a larger knife to cut into pieces. In the picture above there are 8 scones but I decided to make smaller ones and cut those in half again.
5. Transfer to a baking sheet lined with parchment paper and bake 13-14 minutes until lightly browned on top. Transfer to a cooling rack to cool completely before icing.
To make the icing:
1. Add all ingredients to a stand mixer fitted with the paddle attachment (powdered sugar, meringue powder, vanilla and water). Mix on low speed for about 5 minutes. It’s very important to keep it on low so you don’t whip the meringue powder, I have made this mistake before and the end result is not good. If you don’t have a stand mixer you could make the icing mixing by hand but you will want to make sure it’s thick enough and I can’t guarantee the end result will look the exact same.
2. Transfer the icing to a piping bag. Leave behind a small amount if you would like to drizzle the top like mine. Just add a small drop of food coloring of your choice and a small amount of water to thin the icing a little more so it drizzles nicely. You only need another 1/2 tsp or so of water.
3. Assure the scones are completely cooled then spread a thick layer of icing onto each scone. The icing should be thick enough that it doesn’t run down the sides. Let the icing dry for a short time before adding the drizzle to assure it doesn’t blend into the white icing. The icing usually takes a solid 24 hours to set completely but that doesn’t stop me from digging in a little early.
4. Enjoy!!
SHOP ITEMS FROM THIS POST:


